Stallee gives your shop a website, a place to keep products and stock, and a way to take orders. This guide takes you from a new account to your first look around your shop. The examples follow Mara Quinn, who runs Saltbush Ceramics, a pottery studio in Fremantle.
Planning to sell at markets? See Start a Market Business in Australia for ABN, insurance, permit and tax steps before your first market.
Create Your Account
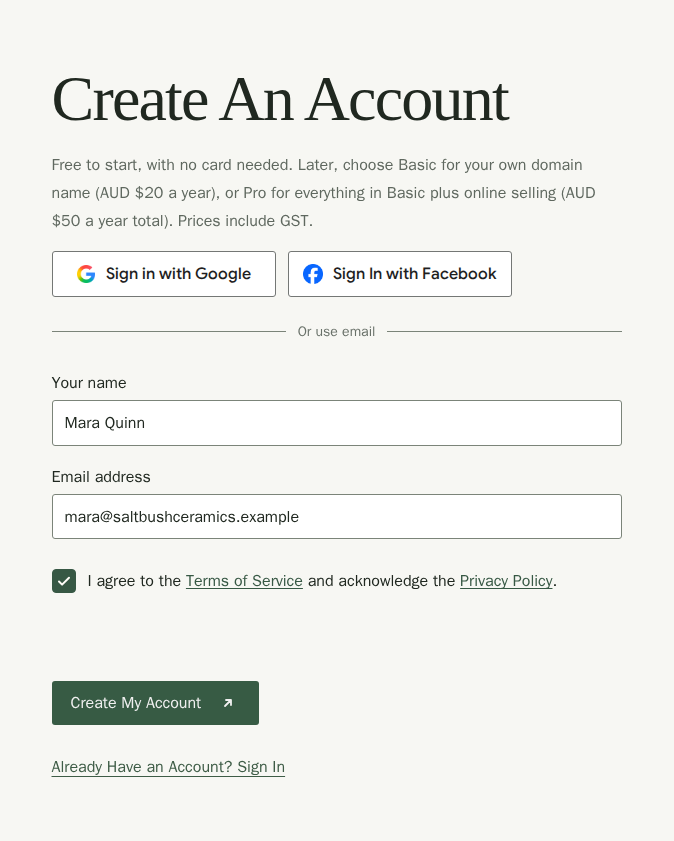
Creating an account is free and needs no card details. Choose Google or Facebook at the top when available, or use the email form below. There is no password to remember.
- Go to Stallee at app.stallee.xyz.
- Choose Sign in with Google or Sign In with Facebook and follow your provider's prompts.
- Back in Stallee, check Your name. Your provider's email address is shown and cannot be changed here.
- Tick I agree to the Terms of Service, then choose Create My Account.
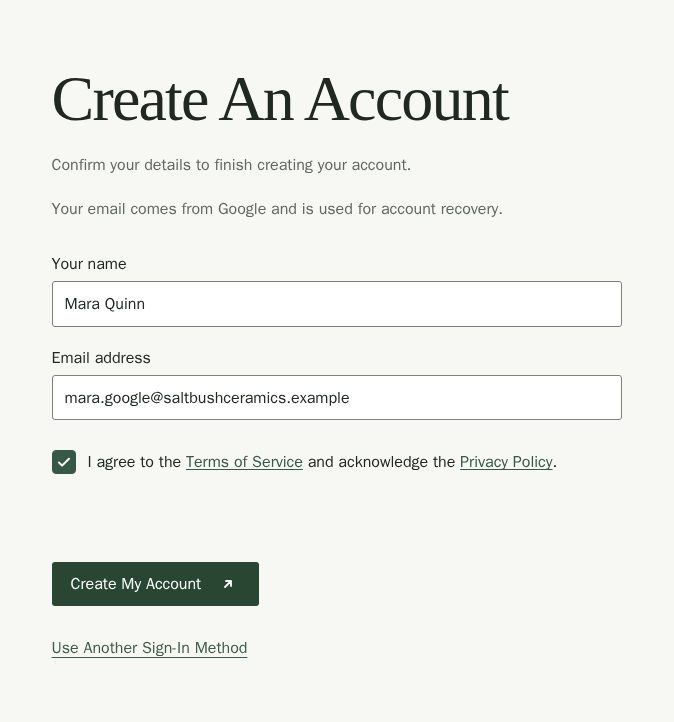
A verified Gmail or Workspace address can take you straight to shop setup. For other Google addresses and Facebook, confirm your email with the link Stallee sends, then choose Finish connecting Google or Finish connecting Facebook to start a fresh sign-in with that provider. If your provider shares no email address, create your account with email first, then connect the provider from Account.
To create your account with email instead:
- Use the email form below the provider buttons.
- Type your name in Your name and your email in Email address.
- Tick I agree to the Terms of Service. You can read the Terms of Service and Privacy Policy from the links beside it.
- Choose Create My Account.
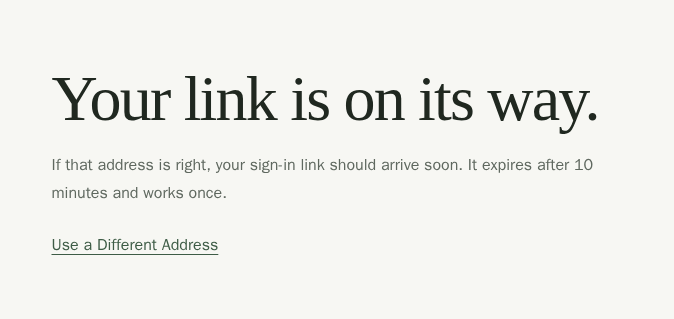
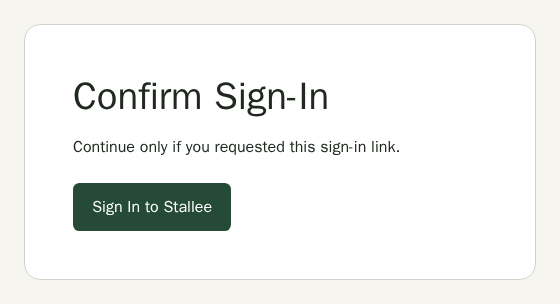
Stallee tells you your link is on its way. Open the email and choose the link inside, then choose Sign In to Stallee on the confirmation page. Only continue if you asked for the link. Your name and agreement to the terms are confirmed when you sign in. The link works once and expires after 10 minutes. If it has run out, go back and choose Use a Different Address to start again.
Create Your Shop
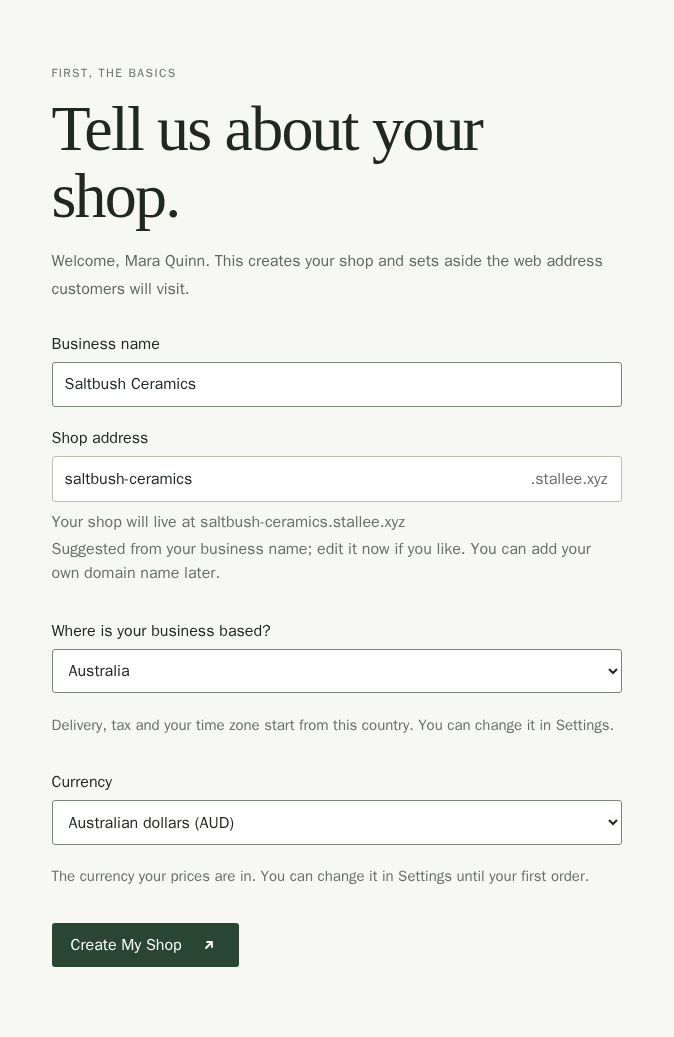
The first time you sign in, Stallee asks about your shop. This creates your shop and sets aside your shop's web address.
- Type your trading name in Business name, for example Saltbush Ceramics.
- Check Shop address. Stallee suggests one from your business name, and the line above it shows where your shop will live, such as saltbush-ceramics.stallee.xyz. Change it now if you like. Use lower-case letters, numbers and hyphens.
- Choose where your business is under Where is your business based?: Australia, New Zealand, the United Kingdom or the United States. Delivery, tax and your time zone start from that country. Choose Somewhere else if yours is not listed; your shop then starts with Australian settings, which you can change in Settings.
- Check the Currency, the currency your prices are in. It follows the country you chose, so it starts as Australian dollars (AUD). You can change it in Settings until your first order.
- Choose Create My Shop.
You can add your own domain name later. See Website address.
Follow the Setup Tutorial
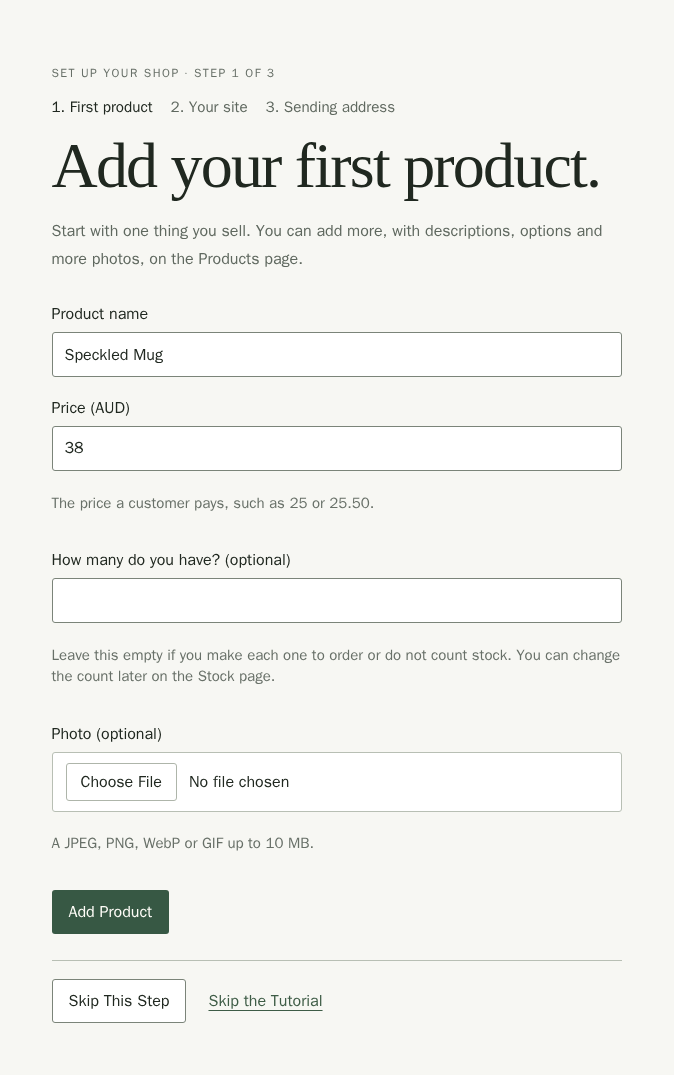
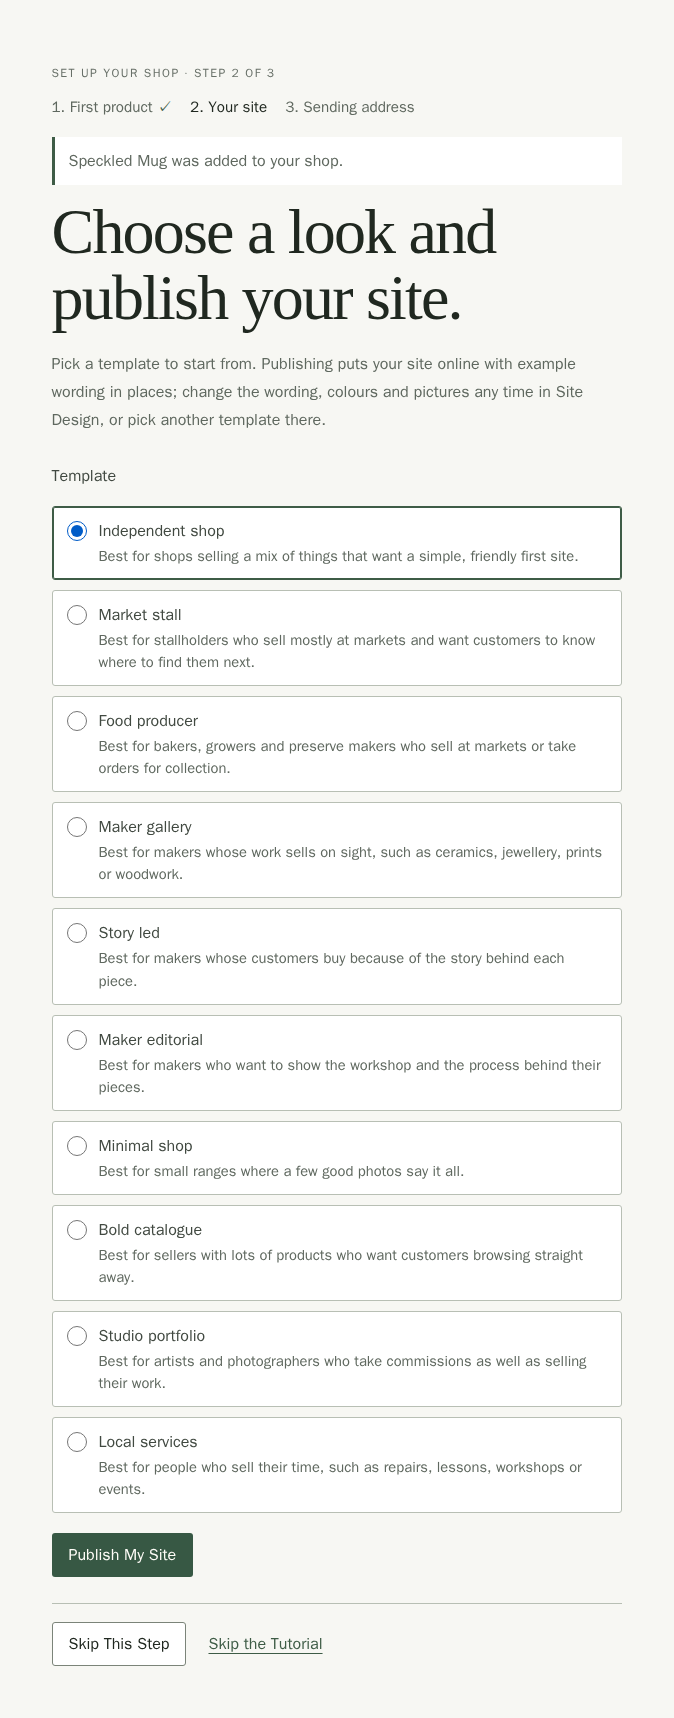
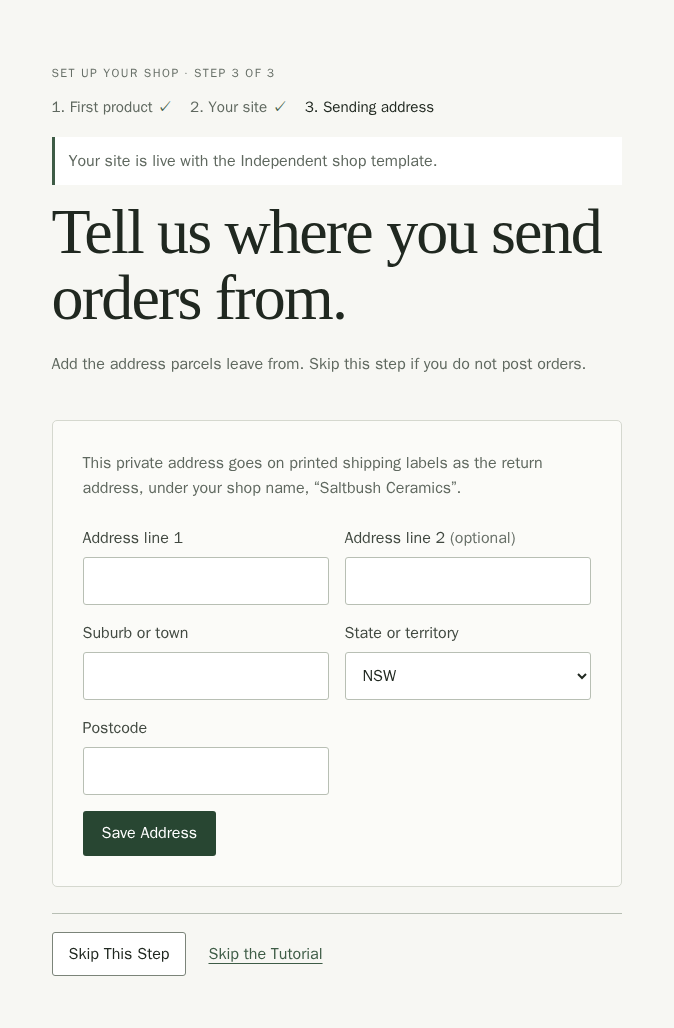
When you create a shop, Stallee opens a short tutorial before Home. It has three steps, and each one does the job right there. Choose Skip This Step to leave a step for later, or Skip the Tutorial to go straight to Home. Nothing you skip is lost: you can do every step later from its own page.
- Add your first product. Type a Product name and a Price. You can also say how many you have and add a photo. If you give a count, Stallee keeps it in a stock location called Online, which you can change on the Stock page. Choose Add Product. The product is published, so it shows on your site once the site is live.
- Choose a look and publish your site. Pick a Template and choose Publish My Site. Your site goes online straight away with the template's example wording, which you change in Site Design. Skip this step if you would rather finish the wording first.
- Enter your sending address. This is the return address on printed shipping labels. It is never shown on your site. Choose Save Address, or skip the step if you do not post orders.
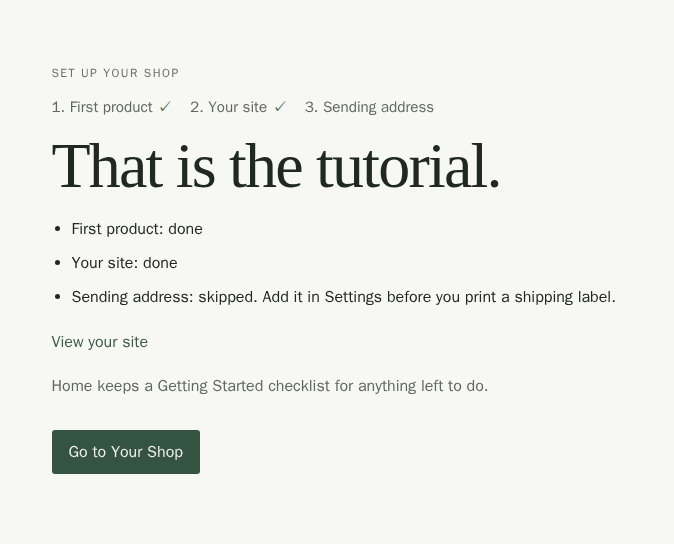
The last page lists what you did and where to finish anything you skipped. Choose Go to Your Shop to open Home. The tutorial shows once for each shop you create and does not come back after you finish or skip it. People you invite to your shop do not see it.
Find Your Way Around
After the tutorial you land on Home. The menu down the left lists the pages your shop has chosen to show, grouped under Sell, Shop Website and Settings. On a phone, choose the Menu button (three lines) at the top left to open it, and choose it again to close it. Choose a page in this menu whenever you want to move to another part of your shop. Icons beside each page name help you scan the menu, such as a parcel for Products and a speech bubble for Messages. The page names stay visible on both computers and phones.
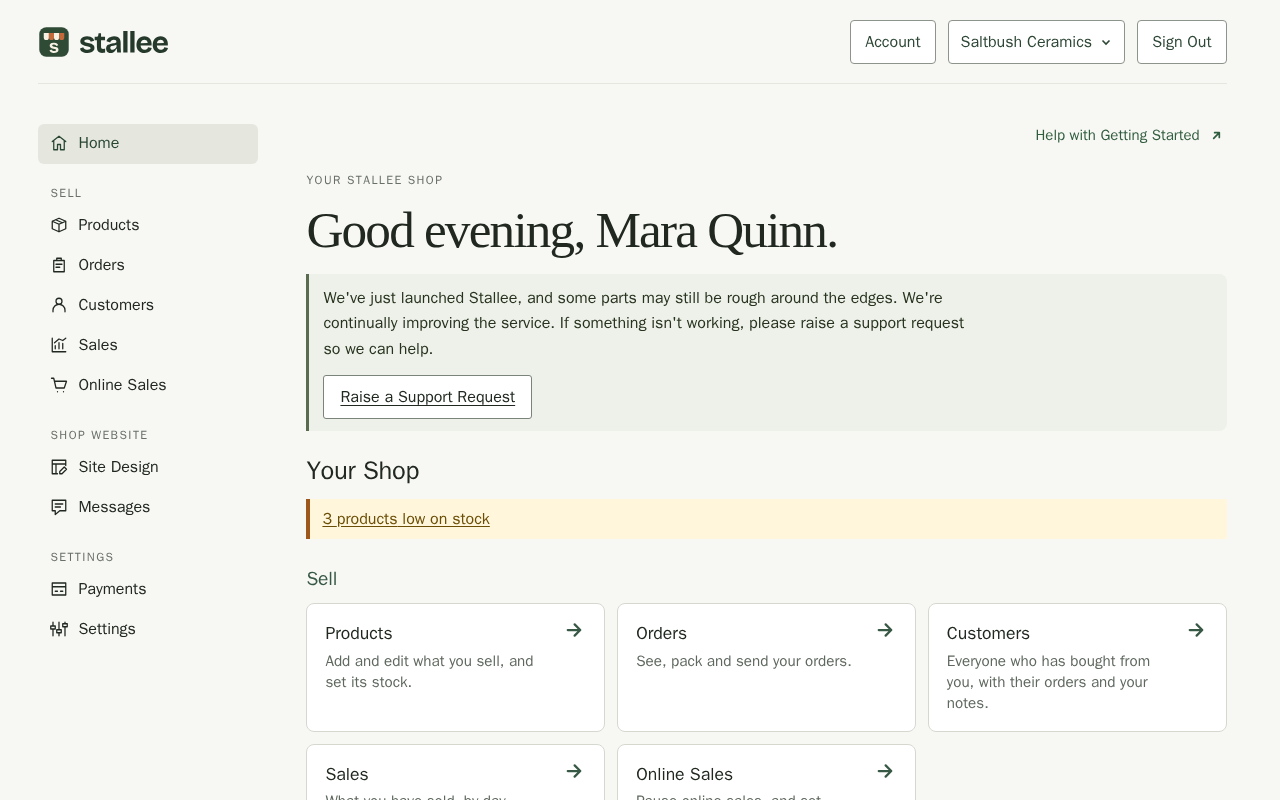
- The greeting at the top changes with the time of day on your own device: Good morning from 5 am, Good afternoon from midday and Good evening from 6 pm.
- The notice under the greeting tells you Stallee has only just launched. If something is not working, choose Raise a Support Request to open Stallee support in a new tab. Support at the bottom of every page does the same.
- Getting Started is a short checklist: add your products with their prices, photos and stock, design and publish your site, say where your stock is, and connect payments. Each step links to the right page, and a step shows Done once you have finished it. Once your site is live, View your site beside that step opens it in a new tab. When every step is done, the checklist goes away for good.
- Hide hides the checklist while you still have steps to finish. Choose Show Getting Started to bring it back.
- Account and Sign Out are at the top right of every page, beside your shop's name. On a phone they are icons: a person for Account and a door for Sign Out. See Account and security.
- Help with at the top of each page opens the guide for that page in a new tab.
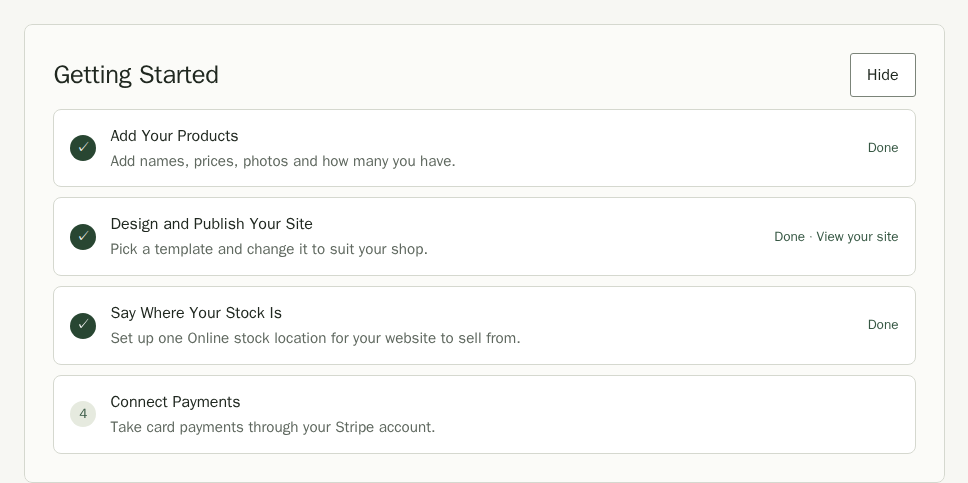
Say Where Your Stock Is is done once your shop has one active stock location with the type Online (for your website). Your website sells the stock held there. Connect Payments is done only when your website can take an order, not as soon as Stripe is connected. If it is still to do after you connect Stripe, open Payments to see what Stripe or your shop still needs.
On the Free and Basic plans, the payments step reads Take Card Payments (Needs Pro). It takes you to your plan, further down Home on Free or on Account on Basic, and the checklist stays until you move to Pro or choose Hide.
On a larger screen, scroll the help menu to browse topics without moving the guide you are reading. On a phone, choose All Guides at the top to browse topics. The full guide menu also appears after the article.
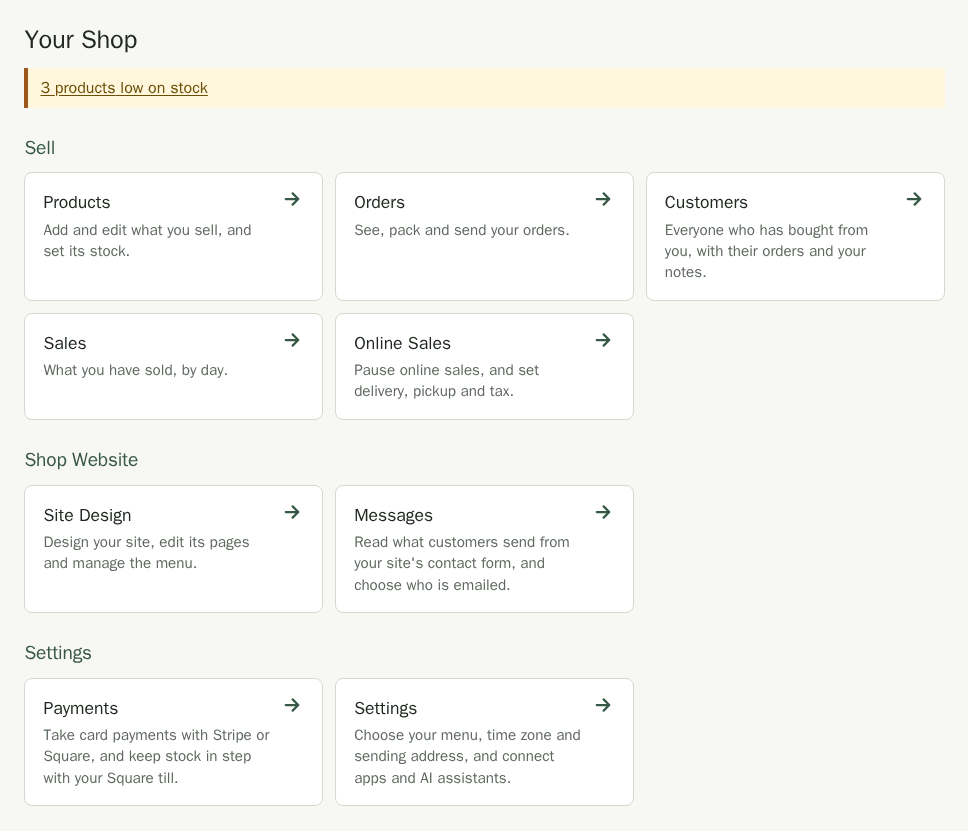
Under the checklist, Your Shop shows a button for each visible page with a line about what it does, so you can jump straight in. The buttons sit under the same headings as the menu, Sell, Shop Website and Settings, and you only see the pages your plan and role include. Owners and admins can choose the optional links for the whole shop in Settings, under Workspace Menu. Hiding a link keeps the tool and its data.
Your First Steps
- Add a few products with prices and photos. See Products.
- Say where your stock is and how many you have of each product. See Stock levels and locations.
- Choose a template and publish your site. Site Design shows its own Set Up Your Site steps until your first publish. See Site Design.
- When you want to take card payments, move to Pro and connect Stripe. See Plans and billing and Payments.